
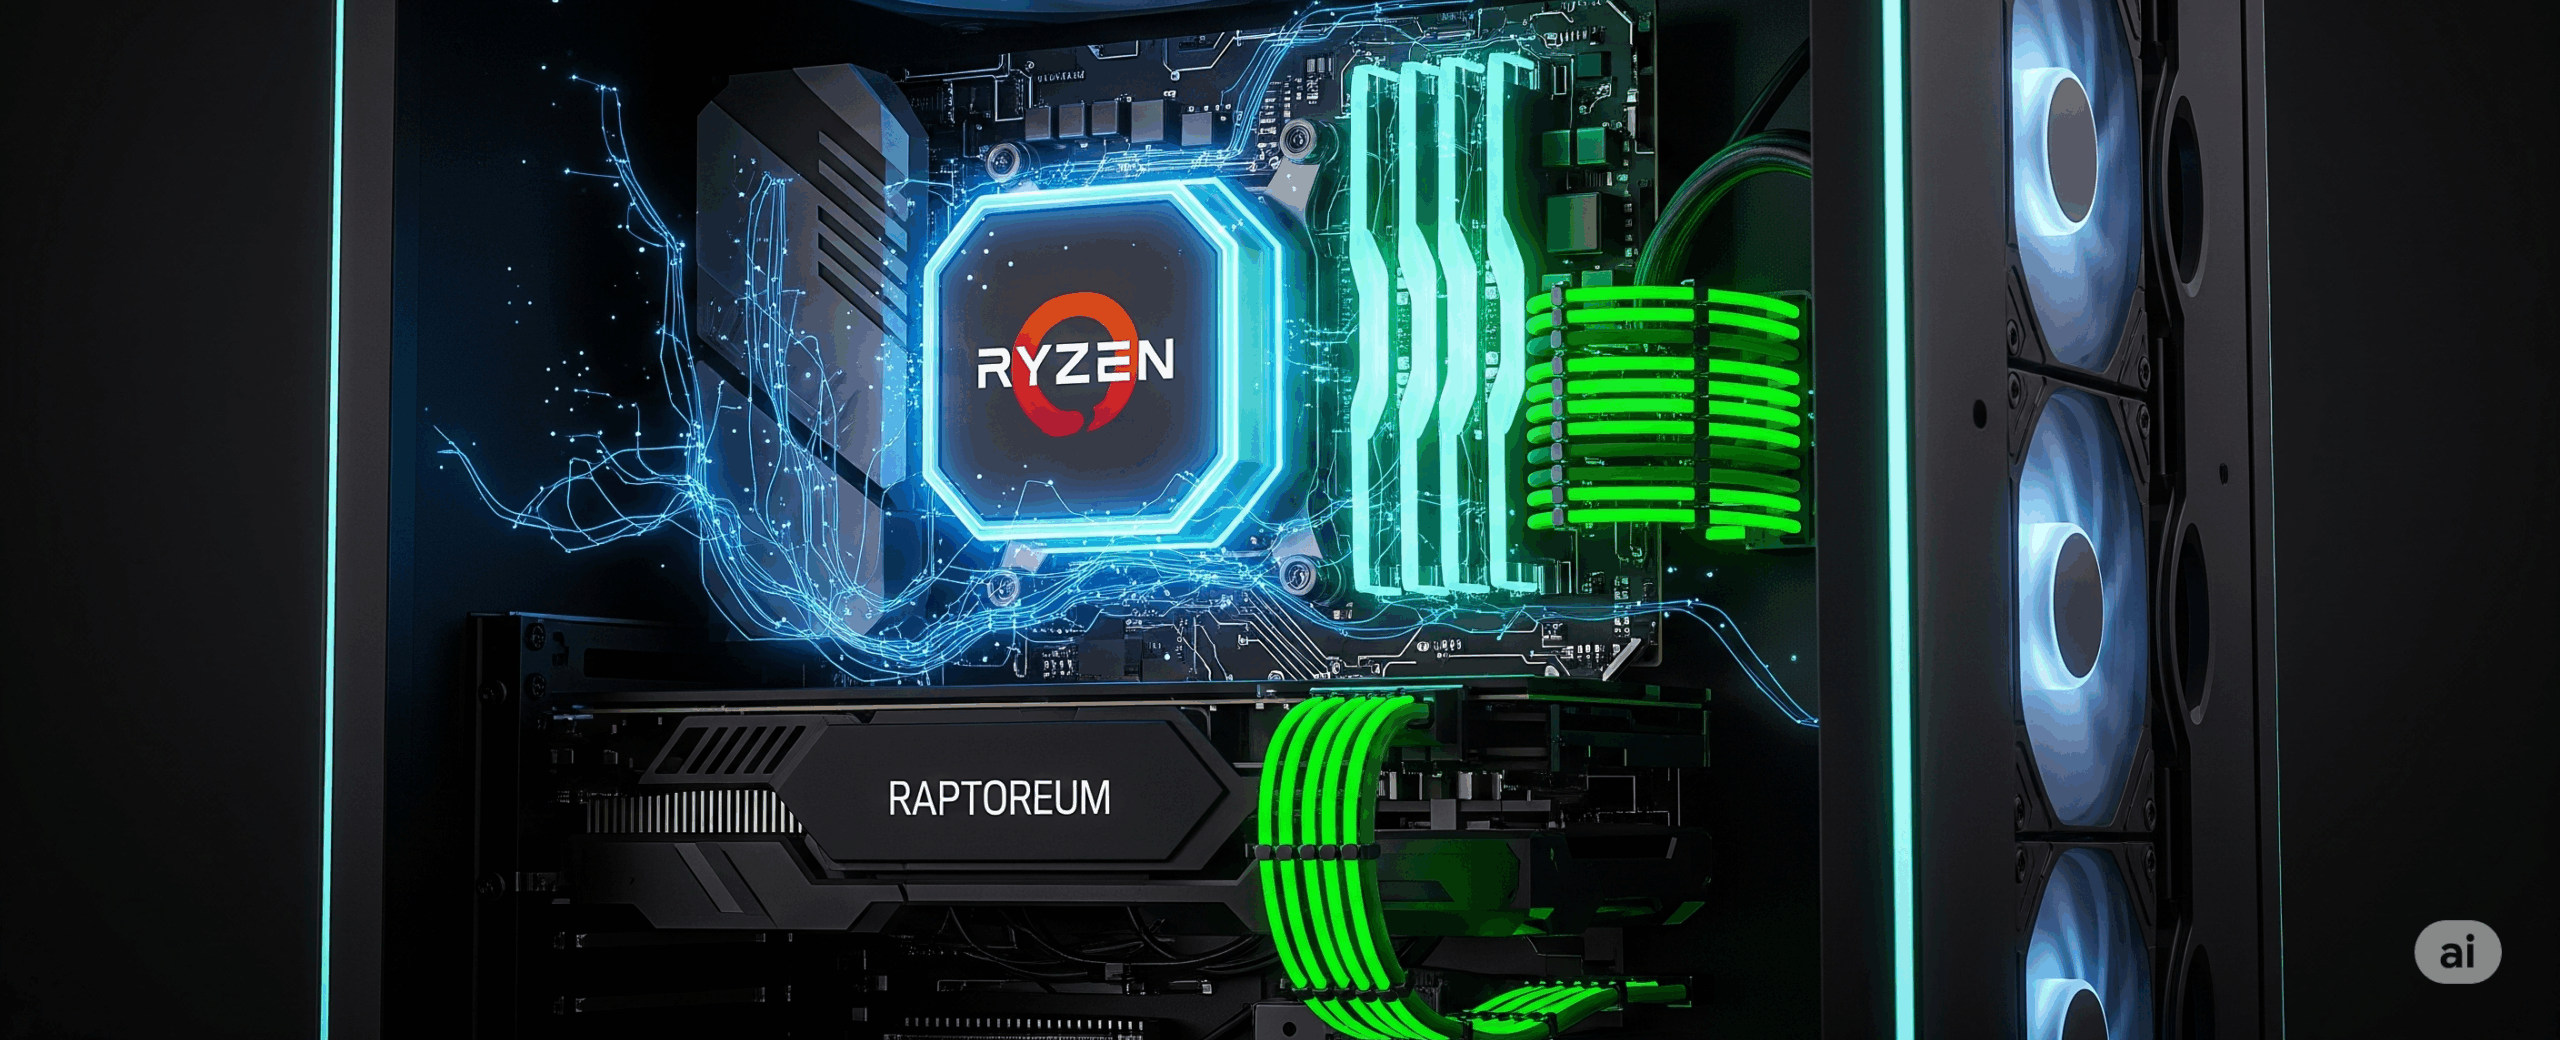
Are you ready to dive into Raptoreum Ubuntu mining but lack technical experience? No worries! This comprehensive Raptoreum RTM Mining Guide for Ubuntu will walk you through step-by-step to set up your RTM miner on an Ubuntu 22.04 server easily and without hitches. By the end, your miner will be running automatically, 24/7, with built-in resilience against reboots.
Too lazy to read? Listen to the article:
Prerequisites for Your RTM Mining Setup
Before we start, make sure you have the following ready:
- Server: An Ubuntu 22.04 server instance.
- RTM Wallet: Your Raptoreum wallet address. For example: YOUR_RTM_WALLET_ADDRESS.
- Worker Name: A name to identify your mining rig on the pool. For example: MY-WORKER.
For this tutorial, we’ll use WoolyPooly as our mining pool, a popular and reliable choice for RTM mining:
- Primary Pool (USA): stratum+tcp://pool.us.woolypooly.com:3110
- Secondary Pool (Brazil): stratum+tcp://pool.br.woolypooly.com:3110
Step-by-Step RTM Mining Ubuntu Configuration
Follow these commands in your terminal, one by one, to ensure a smooth setup without errors.
Step 1: Update System and Create Working Directory
First, update your system and install the necessary dependencies. Then, create a dedicated directory to organize your miner’s files.
sudo apt update && sudo apt upgrade -y
sudo apt install git build-essential cmake libssl-dev libhwloc-dev -y
mkdir ~/raptoreum-miner && cd ~/raptoreum-miner
Step 2: Download and Compile XMRig
XMRig is the mining software we’ll be using for RTM mining. We’ll download it directly from its GitHub repository and compile it to optimize its performance on your server.
git clone https://github.com/xmrig/xmrig.git cd xmrig mkdir build && cd build cmake .. -DCMAKE_BUILD_TYPE=Release -DWITH_HWLOC=ON make -j$(nproc)
Command Breakdown:
- git clone…: Downloads the XMRig source code.
- cmake ..: Configures the project for compilation, ensuring an optimized Release version and hardware support (HWLOC) are enabled.
- make -j$(nproc): Compiles the software, leveraging all CPU cores for faster processing.
Step 3: Create the Configuration File (config.json)
This file tells XMRig how to mine. It’s crucial that you copy and paste the content exactly as shown, and replace the example information with your actual wallet address and worker name.
From the ~/raptoreum-miner/xmrig/build directory, execute:
nano config.json
Copy and paste this content. Remember to replace RQxxxxxxxxxxxxxxxxxxxxxxxxxxxxxxxxxx.WORKERNAME with your own Raptoreum wallet address and your desired worker name!
{
“autosave”: true,
“cpu”: true,
“opencl”: false,
“cuda”: false,
“randomx”: {“mode”: “auto”},
“msr”: “none”,
“pools”: [
{
“url”: “stratum+tcp://pool.us.woolypooly.com:3110”,
“user”: “RQxxxxxxxxxxxxxxxxxxxxxxxxxxxxxxxxxx.WORKERNAME”,
“pass”: “x”,
“tls”: false,
“algo”: “ghostrider”
},
{
“url”: “stratum+tcp://pool.br.woolypooly.com:3110”,
“user”: “RQxxxxxxxxxxxxxxxxxxxxxxxxxxxxxxxxxx.WORKERNAME”,
“pass”: “x”,
“tls”: false,
“algo”: “ghostrider”
}
]
}
⚠️ IMPORTANT NOTE: You MUST replace RQxxxxxxxxxxxxxxxxxxxxxxxxxxxxxxxxxx.WORKERNAME with YOUR Raptoreum wallet address followed by a period and your chosen worker name (e.g., YOUR_RTM_WALLET_ADDRESS.WORKERNAME).
To save the file: Press Ctrl + O, then Enter, and finally Ctrl + X.
Step 4: Create the Automatic Service (systemd)
We’ll create a systemd service. This ensures your RTM miner starts automatically when your server boots up and restarts itself if any failures occur.
Execute the following command to create the service file:
sudo nano /etc/systemd/system/raptoreum-miner.service
Paste this content exactly as it is:
[Unit]
Description=Raptoreum Miner Service
After=network.target
[Service]
User=ubuntu
WorkingDirectory=/home/ubuntu/raptoreum-miner/xmrig/build
ExecStart=/home/ubuntu/raptoreum-miner/xmrig/build/xmrig -c config.json
Restart=always
RestartSec=10
[Install]
WantedBy=multi-user.target
Save the file (Ctrl + O > Enter > Ctrl + X).
Now, enable 1 by 1 and start the service:
sudo systemctl daemon-reload
sudo systemctl enable raptoreum-miner
sudo systemctl start raptoreum-miner
Step 5: Verify Everything is Working
It’s crucial to verify the miner’s status to ensure it’s operating as expected. This is a key step for successful RTM mining.
Useful Commands for Monitoring:
- Command:
sudo systemctl status raptoreum-miner- Description: View the current miner status
- Command:
journalctl -u raptoreum-miner -f- Description: View miner logs in real-time
- Command:
sudo systemctl restart raptoreum-miner- Description: Restart the miner service
If the Miner Doesn’t Start:
- Verify the Path: Make sure you are in the correct directory: cd ~/raptoreum-miner/xmrig/build
- Check Logs: Use
journalctl -u raptoreum-miner -f --no-pagerto see real-time errors. Look for messages indicating connection or configuration issues.
Monitoring Your RTM Mining Ubuntu Earnings
You can check your miner’s performance and estimated earnings on the WoolyPooly dashboard.
???? Dashboard Link: https://woolypooly.com/en/coin/rtm/wallet/RQxxxxxxxxxxxxxxxxxxxxxxxxxxxxxxxxxx
Important: Replace YOUR_RTM_WALLET_ADDRESS with your actual Raptoreum wallet address. Once on the dashboard, search for your worker (the name you assigned it, e.g., MY-WORKER) to see its specific statistics.
Success! Your Miner is Operational
With thisRaptoreum RTM Mining Ubuntu Guide, your Raptoreum miner will be a robust, self-managing system:
- ✅ Starts automatically when the server powers on.
- ✅ Restarts itself if it detects any failure.
- ✅ Switches to the secondary pool if the primary one is unresponsive.
- ✅ Handles system updates without issues.
Let it work and check your earnings on the dashboard!
At this point, your Raptoreum (RTM) miner should be fully operational and mining successfully. If you’ve followed all the steps above, you should be seeing activity on your mining pool dashboard. However, if you’ve encountered any issues or simply wish to be prepared for potential challenges, please continue reading this guide. The following sections provide essential commands and troubleshooting tips to ensure your mining operation runs smoothly.
How to Reboot and Verify Automatic Startup
To confirm your RTM miner is persistent and starts automatically after a server reboot, follow these steps:
Step 1: Reboot Your Server
sudo reboot
The server will shut down and power on automatically. Wait 2-3 minutes before attempting to reconnect via SSH.
Step 2: Check Miner Status (After Reboot)
Once you’ve reconnected via SSH, execute:
sudo systemctl status raptoreum-miner
What you should see (indicating success):
● raptoreum-miner.service - Raptoreum Miner Service Loaded: loaded (/etc/systemd/system/raptoreum-miner.service; enabled; vendor preset: enabled) Active: active (running) since Mon 2025-06-09 HH:MM:SS UTC; 1min 30s ago Main PID: 1234 (xmrig) Tasks: 12 (limit: 19106) Memory: 10.2M CPU: 15.392s CGroup: /system.slice/raptoreum-miner.service └─1234 /home/ubuntu/raptoreum-miner/xmrig/build/xmrig -c config.json
If you see common errors:
Active: failed: The miner failed to start.Loaded: disabled: You forgot to enable the service.
Step 3: Advanced Diagnostics with Logs
If the status isn’t clear or the miner doesn’t start, check the real-time logs to identify the problem:
journalctl -u raptoreum-miner -f --no-pager
Solution if it DOES NOT Start Automatically
a) Enable the service (if you didn’t already):
sudo systemctl enable raptoreum-miner
b) Verify paths in the service file:
sudo nano /etc/systemd/system/raptoreum-miner.service
Confirm that:
- WorkingDirectory points to: /home/ubuntu/raptoreum-miner/xmrig/build
- ExecStart has the correct path to the binary: /home/ubuntu/raptoreum-miner/xmrig/build/xmrig -c config.json
c) Reload services and restart the miner:
sudo systemctl daemon-reload
sudo systemctl restart raptoreum-miner
Summary of Post-Reboot Commands
- Action: Check status
- Command:
sudo systemctl status raptoreum-miner
- Command:
- Action: View live logs
- Command:
journalctl -u raptoreum-miner -f
- Command:
- Action: Restart miner
- Command:
sudo systemctl restart raptoreum-miner
- Command:
- Action: Enable auto-start
- Command:
sudo systemctl enable raptoreum-miner
- Command:
With these commands, you’ll confirm that your RTM miner survives reboots and operates 24/7 without interruptions.
Recommended Adjustments (Optional, but Very Useful)
These adjustments can improve the efficiency and control of your Raptoreum miner. You can edit them in the config.json file (nano ~/raptoreum-miner/xmrig/build/config.json).
Optimizing config.json
{
“autosave”: true,
“cpu”: true,
“opencl”: false,
“cuda”: false,
“randomx”: {
“1gb-pages”: false, // This might need to be disabled in some server environments to avoid errors
“mode”: “auto”
},
“msr”: “none”,
“donate-level”: 1, // Reduces the XMRig donation from 5% (default) to 1%
“log-file”: “miner.log”, // Saves logs to a local file for later review
“pools”: [
// … your pool configurations here …
]
}
Limiting CPU Usage (if you run other processes on the server)
If your server needs to perform other tasks besides RTM mining, you can limit XMRig’s CPU usage to prevent overload. Edit the “cpu” section in your config.json:
“cpu”: {
“enabled”: true,
“max-threads-hint”: 50 // Uses only 50% of available threads (adjust this value as needed)
}
This value (50) indicates a percentage of threads to use. Adjust according to your server’s needs.
Verify and Enable Firewall
It’s crucial to ensure your server’s firewall allows connections to the mining pool ports.
sudo ufw allow 3110/tcp # Enables port 3110 for connection to the pools
sudo ufw reload # Reloads firewall rules
Final Diagnostic Test
To ensure everything is in order for your RTM mining operations, run these commands:
Verify the service is active: sudo systemctl status raptoreum-miner
Check logs (look for “connected” or “accepted” to confirm activity): journalctl -u raptoreum-miner -f --no-pager
# Simulate miner startup without actual mining (for debugging):
# You must be in the directory ~/raptoreum-miner/xmrig/build
# ./xmrig -c config.json –dry-run
What You Should See
- On WoolyPooly Dashboard: Your worker (MY-WORKER, associated with your wallet) should appear on the dashboard within 5 to 10 minutes.
- Expected Hashrate: For a server with limited resources (e.g., 1 CPU and 2 threads), expect a hashrate between 100 and 300 H/s.
- Estimated Earnings: These will be modest but consistent. It’s ideal for testing, learning, and risk-free experimentation.
???? Extra Tip: Manual Miner Control
Should you ever need to stop or start the miner manually:
- Stop the miner:
sudo systemctl stop raptoreum-miner - Start the miner:
sudo systemctl start raptoreum-miner - View real-time performance:
journalctl -u raptoreum-miner -f --no-pager
We continuously strive to make this the most comprehensive and helpful Raptoreum RTM Mining Ubuntu guide available. If you believe we missed anything, have suggestions for improvements, or feel there’s a crucial detail that should be added, please don’t hesitate to reach out directly on Telegram: @cadenadb Your feedback is invaluable in making this resource even better for the community.
Happy mining, and thank you for being a part of our journey!